

If you want to multiply your snapdragon harvest on a budget, saving seeds is the best, most budget friendly way to do it! Learn how to save snapdragon seeds, and before you know it, you could fill your whole cut flower garden with these beauties. Snapdragons are great candidates for seed saving, because they’re some of the easiest flowers to grow from seed. Not to mention the process is super easy, and the payoff is huge since they flower for so long!
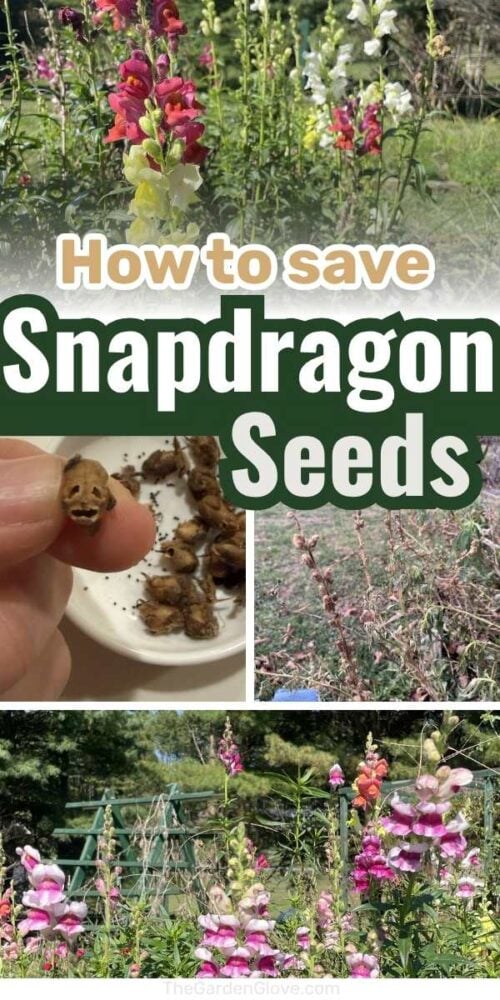
Last year was my first year adding snapdragons to my garden, and they quickly became one of my favorites. I knew I needed to save some of the flower seeds to grow even more the next time around. If you’d like to do the same, here’s a simple step-by-step guide to collecting and saving snapdragon seeds from your own plants.
Wait for the Right Time
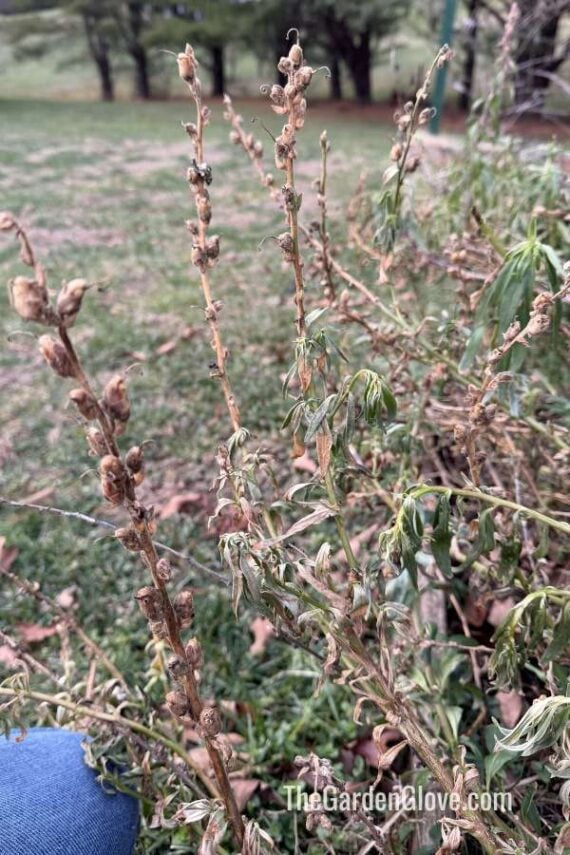
Snapdragon seed pods form after the flowers fade. Pick a dry day late in the growing season, but no so late that the plants have fully died back. I waited until the pods on my plants turned brown, dry, and brittle—usually late summer into early fall. That’s when the seeds inside are fully mature and ready to collect.
Gather a Few Supplies
You don’t need much to harvest your snapdragon seeds, just the following:
- Scissors or small pruners
- Paper bags or envelopes
- Mesh sieve
- A pen/marker for labeling
This makes it easy to harvest and keep track of what you collect.
Harvest the Seed Pods
First, you’ll need to remove the seed pods off the plant. I think it’s easiest to harvesting a batch of seed pods to empty rather than removing the tiny seeds as you go, so bring a bag with you! Look for brown pods that are fully dry and in good condition. Pods that look dry in color but are soft may have rotten after too much moisture exposure. Green seed pods are not ready to be harvested and will not have viable seeds. Snapdragon pods in good condition to harvest will look like tiny light brown skulls and feel dry and crispy or papery to the touch.
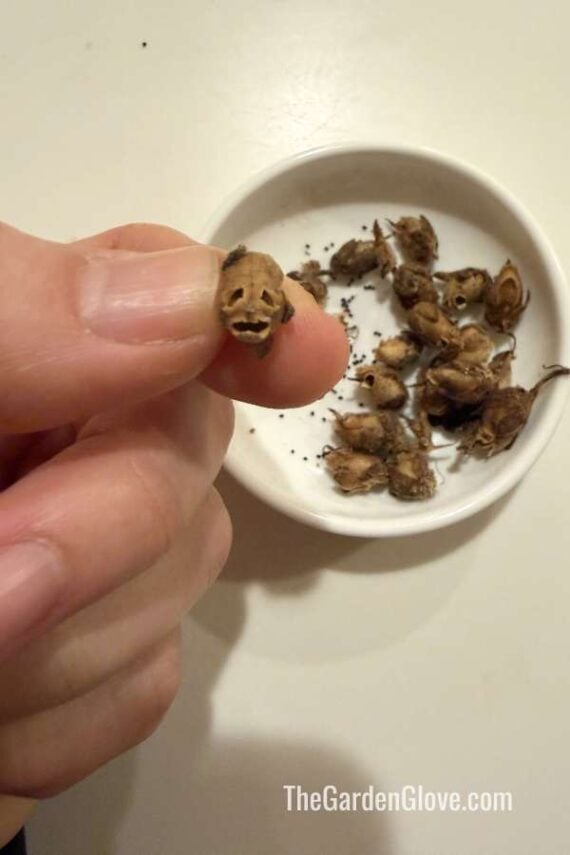
Snip the pods off each snapdragon stem and collect them in a paper or plastic bag. If you have a mix of colors like I did, be sure to collect from each plants of each color you want for the following year.
I clipped the dried pods right off the stems and dropped them into a paper bag. Some pods already rattled with loose seeds, which was a good sign they were ready. Once I had a bag full, I gently cracked them open to release the seeds.
Collect and Dry the Seeds
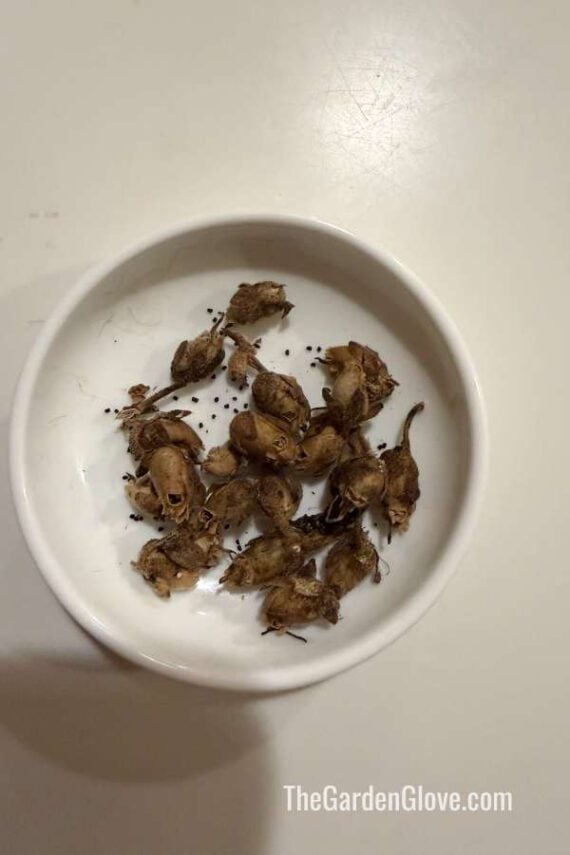
Next, all you need to do is squeeze and crack (or just shake) the seed pods over a piece of paper or a plate. This will release the seeds from the pods, but will also leave behind some of the seed pod material. You can run your seeds through a sieve to easily separate the seeds. Even if they appear dry, giving them a little bit of time to continue to dry out is very important. Dry seeds store much better, meaning a better germination rate (and more flowers!) for you!
I worked in small batches over a little sauce dish. Then, to prevent any chance of mold, I spread the seeds out on a paper towel and let them air-dry for a few days before storing.
Store the Seeds Properly
Last but certainly not least is the very important step of storing your seeds. You want to make sure they’re somewhere they’ll stay dry and cool. Paper envelopes (like a seed packet you’d find at the garden center) are great if you have a nice, reliably dry storage location. Bonus tip- if you have extra, some home grown flower seeds make great little plant gift idea if you’re thinking up Christmas gifts for the gardeners in your life!
You can store snapdragon seeds in the fridge so long as you use an an airtight container, as Gardening Know How also mentions in their guide. If you store them in a jar, plastic bag, or other airtight container, be sure they’ve had a chance to fully dry out beforehand. It’s not a bad idea to throw a silica gel packet in with the seeds, too.
Snapdragon seeds can stay viable for a few years when properly stored. For best results, replanting the following spring is the safest option. Personally, I’m especially excited to get mine in the ground in the spring and see those colors return! I love the vision of endless color I can see as I start my seeds in the spring.

Common Mistakes to Avoid When Saving Snapdragon Seeds
Even though saving snapdragon seeds is pretty simple, a few missteps can make it less successful. Here are the big ones I kept in mind:
- Collecting too early – If pods are still green or soft, the seeds inside won’t be mature and likely won’t sprout. Always wait until they’re dry and brown.
- Storing seeds while damp – Even a little moisture can cause mold. Be sure seeds are fully dry before packing them away.
- Using plastic bags for storage – Plastic traps moisture, which can ruin seeds. Paper envelopes or small paper bags work best.
- Forgetting to label – It’s easy to forget what’s what by spring. Label envelopes with the plant type and the year collected.
- Leaving pods on plants too long – If you wait too long, pods may split and scatter seeds before you collect them. They can also mold or mildew if left out through consistent wet weather.
My Take After Storing My Snapdragon Seeds
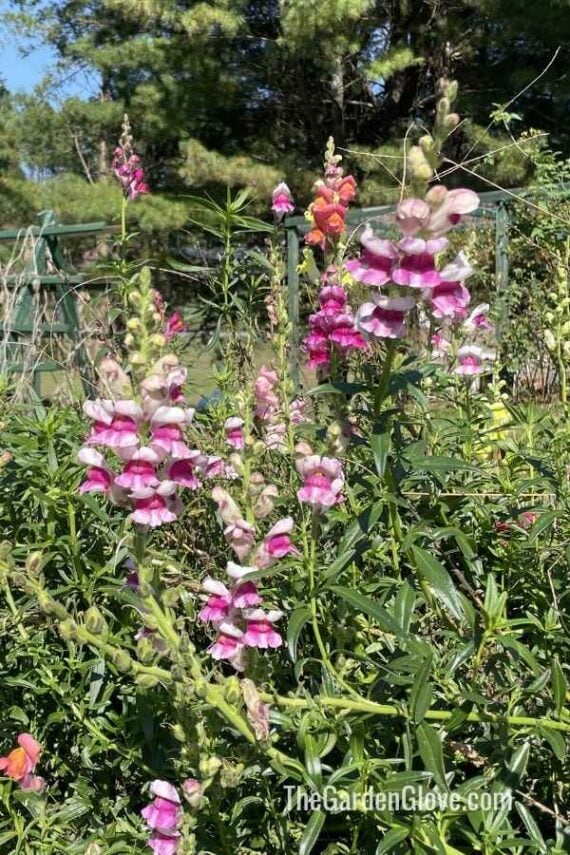
Saving snapdragon seeds turned out to be super simple and really rewarding. I loved knowing that the flush of blooms I enjoyed this year will come back next year – and in even greater numbers. I am so looking forward to their bright colors returning to my garden. It’s also nice getting to choose from the mix of colors I previously planted to add even more of my favorites and fewer of the ones I didn’t love as much.
If you’ve never tried seed saving before, snapdragons are the perfect place to start! The process is simple, and when it comes time to sow snapdragon seeds, they’re super easy flowers to grow from seed. They’re an excellent addition to cut flower gardens, and there’s something extra rewarding about enjoying flowers you grew from your own seed.